Summer work
History of Photography
Camera Obscura


|
The camera obscura was from the 17th Century. The camera obscura was a lens attached to an aperture on the side of a darkened tent or box.
-First you cut a hole or square the size of a stamp on one side of the box, then make sure you have no light going through apart from the stamp sized hole if you do cover where the light is coming through with think tape. -After, put the correct amount of tracing paper on the other size of the box. This is where the inverted image will be projected so make sure its taught. -Then you go up the window and see how far the lense needs to be from the box and measure it this is called the focal length, it will be the right length when the picture is clearest. You should be able to then tape it to that length. -The picture when you hold it up the window will be upside down because it doesn't have a mirror unlike other cameras or our eyes. The most difficult element I found was making sure the focal length was the right length, this was important to get right because otherwise the picture would not be clear. We managed to get it right after a couple tries, however the next day it was not as clear because it was out of shape. The things that went well were the construction of our camera, it was sturdy and would project a good image. Overall it worked well and we managed to draw an image of what we could see. |

|
The SLR Camera
SLR cameras provide photographers with precision, there is no parallax error and exact focus can be confirmed by eye—especially in macro photography and when photographing using long focus lenses. SLR stands for single-lens reflex camera. The camera has different settings, AV-aperture priority, SP-shutter priority, P- programmed priority and M-manual.
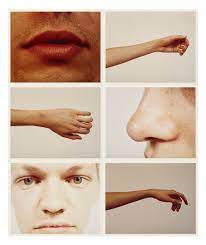
Composition
Composition is the putting together, it can be about anything including photography.
For my composition:
my WWW is that i think i was creative and it worked well.
My EBI is that i would like to learn more about the topic and in more depth.
For my composition:
my WWW is that i think i was creative and it worked well.
My EBI is that i would like to learn more about the topic and in more depth.

|
|


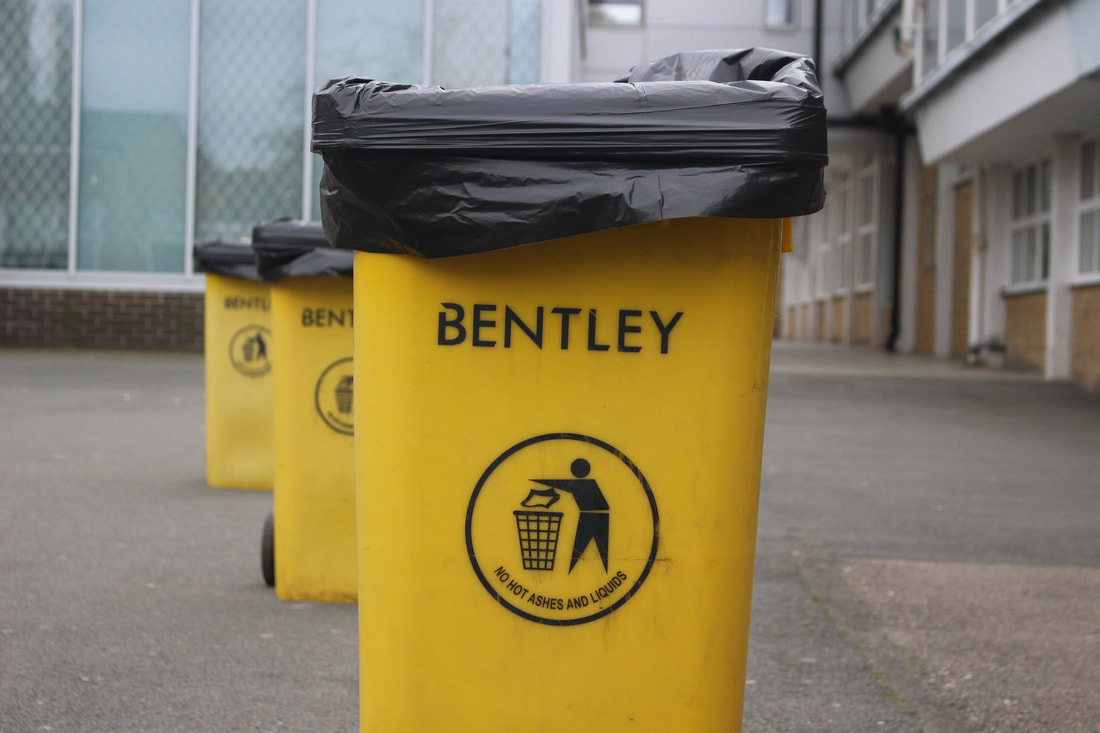
Rule of Thirds
|
Today we worked on the rule of thirds, this is when the image on the camera is split up into a three buy three grid. We do this beaches then we get a more pleasing to the eye photo. This is used with people animals of settings, so basically most photos, to help capture a better image.
I managed to get quite a phew photos, so a lot of practice and I put the grid on all of them. It went well and you can definitely see the contrast in the photos, the once where the main focus is not right in the centre they look a lot better. However next time I would like to work on capturing photos of people more, mine didn't work very well and more practice would be needed. |

|


Shutter Speed
Shutter Speed is the speed at which the shutter in the camera closes, also the faster the shutter speed the shorter the time the sensor is exposed to light. A faster shutter speed creates and short exposure with a clear and sharp photo. A slow shutter speed gives a longer exposure with a blurry photo.
Natsumi Hayashi Fast Shutter speed - First ResponseFast Shutter Speed - Second ResponseFast-Shutter Speed HomeworkFrancesca Woodman |
Fast Shutter Speed - Natsumi Hayashi Hayashi is a Japanese photographer based in Japan. She shoots photos of herself all around (mostly in the city) , the photos of herself are her floating in the air. They are levitation photos. She shoots in 1/500th of a seconded which is a very fast shutter speed, but thats not all she says she "must be aware of the shapes of my arms and legs and make slight adjustments in every jump" this creates the floating affect. My levitation photos turned out well, however there are things that could be improved. For example: -They were slightly blurry which could be fixed by holding the camera more steady. -The people being photographed didn't always pose as floating, so we would spend more time perfecting our poses. - Or use a tripod to make it more professional and less blurry photos -tie loose hair up to give a better affect Things that went well: -Some photos make it look like the person posing was levitating. -I captured a lot of photos For my levitation photos second response i managed to improve a lot, For example: -The photos look more like they were floating/ levitating -the photos were less blurry because i used a wide stance as taking the photos -We also tried a range of different poses as well as that I we tied our loose hair up which was problem in the first response.
For homework we were told to go away and create more fast shutter speeds, this time with different backgrounds and props. You can see how much better these photos are from my first response and how i have improved only in a short space of time. The best things about the photos is that they don’t look like someone jumping at all. If i ever went back and revisited this topic i would want to use setting in a city. Francesca Woodman was an American photographer who specialised in taking photos of blurred people, however nearly always she was the subject of her photos. All of her photos were put into black and white. Sadly she committed suicide at the age of 27. She has inspired us to learn about slow shutter speed, as well as that I used the effect of turning my photos into black and white just like her so that It gives a different affect. |


Slow-Shutter Speed first Response


|
|
For my slow-shutter speed first response we went outside and had a go and photographing and modeling, some things that went well were:
-I managed to capture blurred heads -You could tell that the shutter speed was low However some things to improve on would be: -Hold the camera more steady, you don’t want the background to be blurry as well -getting photos of blurry full body’s not just heads We also managed to put some onto photoshop to turn the black and white, see photos above. |
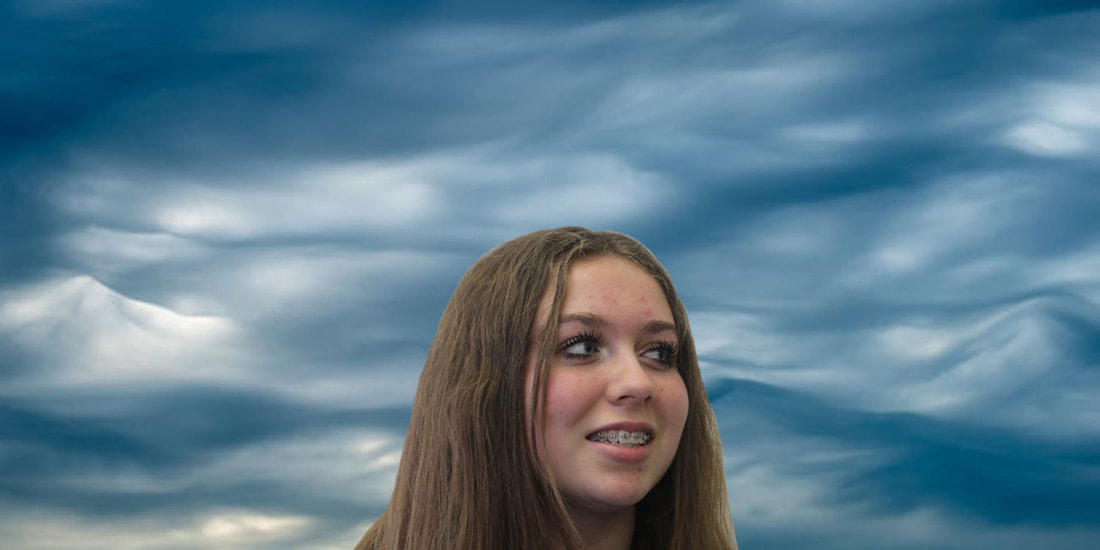
Slow-Shutter Speed 2nd Response
For my Slow-shutter speed 2nd response I managed to capture more images in different locations. This time we also had better lighting which contributed to the photos. One of the things i wanted to improve on was taking full body slow-shutter speed picture not just the movement of the head. And although they could be improved they were a lot better than the attests i took during our slow-shutter speed first response.
Experimenting with Aperture


|
F29
|
F4.5
|


|
F4.5
|
F22
|

|
Aperture is the amount of light that comes into the camera. A high F number (the scale we use to mesure aperture) closes the lense and creates a very small pace to let light in, this makes everything in the photo in focus, for example F22. A lower F number will open the lense and let more light in creating an in focus person or object at the front but a blurry background. As well as that a low f number shallow depth of field and vise versa.
The F22 pictures worked really well, however i think i need to get more of them. The F4.5 pictures were mostly really blurry compared to the f22 one, i will need to work on them. I also need to get pictures of people in a line. |
Depth of field
Depth of field is the amount of the image is in focus. A narrow depth of field shows that only a bit of the image is in focus, whereas a larger depth of field is when all of the image is in focus. it is controlled by the aperture, a larger aperture is a narrower depth of field.
Aperture 2nd Responce
For my second responce i managed to get some photos of three people standing in a line, this was one of the things i said i needed to do after my first responce.

|
F22
|
F4.5
|


|
F36
|
F4.5
|


|
F4.5
|
F22
|


|
F5.4
|
F22
|
Photoshop
In photoshop you can change the image, the image size or other aspects. many professional photographers and other arts use it in their field so it is a very useful skill to be able to use.
For a couple lessons we have been working on using our photos in photoshop. We have learnt about resizing, black and white and history. Here is a guide on how to achieve these things.
For a couple lessons we have been working on using our photos in photoshop. We have learnt about resizing, black and white and history. Here is a guide on how to achieve these things.
How to open an image
The first task we were given to show is how to open an image, this is the first thing you need to do after opening photoshop. First you go to file then open, from there you find the download or file you want and left click on it. the last thing you need to do it click open.


Turn an image into black and white
Next we learnt how to turn an image into black and white, this is useful for layers and in other ways. First go to image, mode grayscale then click on the discard button.


Resizing and rotating
Resizing and rotating can be used all the time, to do rotation go onto image, image rotation, 180 (or whatever other rotation you would like). And for resizing image, image size and change whatever lengths/widths you want.


History
You use history to get rid of whatever you have just done or what you've done in the past, this could be a mistake or something else. You just need to go onto window, then click on history.


Adjustment tool and Levels tool
Image, adjustments, brightness/contrast. Then change the levels and click done, this will the activate the adjustment tool. For the levels tool you go onto image, adjustments, levels, then you will have a histogram on your page. The histogram is what you use to change the levels.


The colour Histogram
For the levels tool you go onto image, adjustments, levels, then you will have a histogram on your page.
Saturation
Saturation is when you can customise the colour, to get it you need to image, adjustments, hue/saturation and then you are able to choose the colour palet you would like to put onto you photo.


Andy Warhol Style Portraits
|
This lesson experimented with Andy Worhol style portraits, they were fun. We put a picture we have taken on the white background into photoshop and we changed the edits.
Overall i think it worked well and i got to learn a lot. However next time i would like to learn in more depth and quicker because each photos took a very long time. |
|


How To:


Mixed B/W Photo
Today we put photos into photoshop and experimented with turning them into a mixed colour and black and white photo. To start you have to turn the photo into a layered photo, then duplicate your photo. After turn the top layer or bottom layer into black and white depending on what you want in colour. Finally use your eraser tool to cut out the parts you want.
top tip: to cut your picture out in more detail, zoom in using 'widow -'. This will help you.
I think this lesson went well, because i managed to complete several photos in photoshop and they were successful.
However i could work on more difficult and more intricate designs
top tip: to cut your picture out in more detail, zoom in using 'widow -'. This will help you.
I think this lesson went well, because i managed to complete several photos in photoshop and they were successful.
However i could work on more difficult and more intricate designs


Layers, Person and a Beach
Today we experimented with using layers in photoshop, by putting a picture of a person on a beach or other background. I think mine were successful because I completed the exercise well and learnt a lot from it. As well as that I got on to being able to use one of my own photos onto a background of my choice and experimented with photoshopping.
First we put the picture of the person on top of the beach picture. then you use the magic wand tool to decide which parts we wanted to keep.
First we put the picture of the person on top of the beach picture. then you use the magic wand tool to decide which parts we wanted to keep.


GIF Making lesson 1
Today we made Gifs, we went in pairs and then took photos every time the person jumped in the air (the second gif) or took a step forward (first gif). Overall I had about 30-60 photos per gif. We the stitched then together using a website called GIFMaker.Me. This created our Gifs for us.
I think the went well, they look good and overall the photos work well together in a smooth action.
However next time I would like to learn how to make the gifs properly using photoshop or another professional tool. and as well as that practicing on a trypod.
I think the went well, they look good and overall the photos work well together in a smooth action.
However next time I would like to learn how to make the gifs properly using photoshop or another professional tool. and as well as that practicing on a trypod.

|
|
GIF Making Lesson 2
Today we shot more GIFS outside, then we uploaded them to photoshop and learnt how to create a professional GIF instead of just putting it through GIF maker.
I think it went well and i have learnt how to use this tool, also i managed to make a different type of GIf. However next time i would like to improve my overall skills and making the photos fit better together.
One other thing we got to use today was a tripod. This helped steady the camera and create more advanced gifs.
Overall i have really enjoyed this and would like to carry on developing my skills.
|
|


Romain Laurent
|
|
https://romain-laurent.com
Romain Laurent is a photographer based in LA. He creates moving photos, gifs, and non-moving photos. As well as that short videos about is photos. Lots of his photos are very quirky and make you think, they have odd names and can have lots of colour. His work has inspired my response to Gifs, above. Here are some of my favourite of his photos and gifs. |


Light Paintings first responce
Today we worked on light paintings, we ste up a trypod and a person sitting on a chair or standing. Then worked in groups of three’s to come up with these images:
The setting used on our SLR cameras taking light photos were, 100 IOS, bulb setting on the shutter speed and the aperture F22.
The setting used on our SLR cameras taking light photos were, 100 IOS, bulb setting on the shutter speed and the aperture F22.
|
|
The best six photos are too the left. WWW, I think what went well was that we mange to try out different techniques and most of them worked out well. I think we managed to get a few great ones and they have all come out in focus. EBI, Next time i would like to try and do more intricate designs or even make gifs. |


Editing my light paintings in photoshop
|
I edited 2 of my photos into photoshop to make the background darker and to emphasise the colour in the light painting. This finalises the picture creating a better end result.
|
    This went well, the photos look a lot better after photoshopping them, however i would like to edit them in more detail maybe using the magic wand tool next time.
|


Light Paintings Homework
For homework we were told to develop our understanding and skills about making light paintings, as well as that we were told to use our house and personal belongings to execute the photos. Here are some of mine:
I think we got a wide range of good photos in focus, however next time i would like to be able to experiment with different colours because we didn't have access to any other colours this time.
I think we got a wide range of good photos in focus, however next time i would like to be able to experiment with different colours because we didn't have access to any other colours this time.


Michael Bosanko
|
|
www.michaelbosanko.com
Michael Bosanko is a welsh artist that transforms landscapes such as the Brecon Beacons and desolate city scenes by using coloured torches like a paintbrush to create images. He then snaps the moving lights with a long-exposure camera and covers the lens with coloured acetate to produce different shades. He discovered light painting on accident, Michael says this of his moment of discovery, “the moon formed part of the scene, but the camera shake caused the moon to make a streak". |


Light paintings second response
Today we experimented with light paintings once again, this time i set out to merge gifs (our last topic) and light paintings to create a light painting gif. This is how they turned out.
My WWW is that i used a range of colours and i think the gif outcome was good, they are fluid and work well.
My EBI is that they weren't that hard to execute, next time if the future i would like to develop different ideas. Another gif idea could be fireworks or a sun.
My WWW is that i used a range of colours and i think the gif outcome was good, they are fluid and work well.
My EBI is that they weren't that hard to execute, next time if the future i would like to develop different ideas. Another gif idea could be fireworks or a sun.
|
|
Overall i am very happy with the end result of toolkit. I have learnt a lot this term and am excited for the next terms to come. My favourite topic in tool kit was the slow shutter speed picture i think they showed a lot and you can make the pictures in so many different ways, also i love learning about the settings used on the SLR camera. We also put the slow shutter speed responses into photoshop and turned them back into black and white, this was the start of learning about photoshop. In toolkit you can see and learn about different ways to edit in photoshop, this will be helpful for me as then i can refer back to it in other terms. My EBI for tool kit would be to go out of my comfort zone, experiment with new ways to take photos and expand my knowledge on the topics we have learnt about. For example leanr more in depth about aperture and how to aply the knowlage to landscape photos such as sunsets.
